

![]()
![]()
![]()
![]()
![]()
![]()
![]()
![]()
![]()
![]()
![]()
![]()
![]()
![]()
![]()
![]()
![]()
![]()
![]()
![]()
![]()
![]()
Rare pieces will sometimes turn up for sale in less than optimal condition. With some time, patience and a steady hand, the condition of a damaged box can be somewhat improved.
Restoration though, could end up damaging a piece more it was before, therefore restore at your own risk. I assume no responsibility over any damage you may cause your own toys.
PART 1
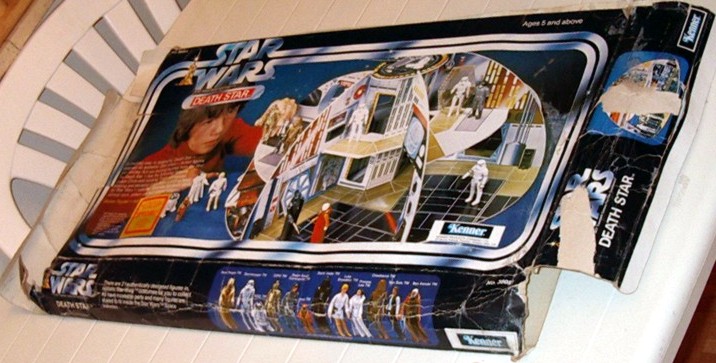
Below is a Canadian Special offer deathstar box as it arrived at my door.
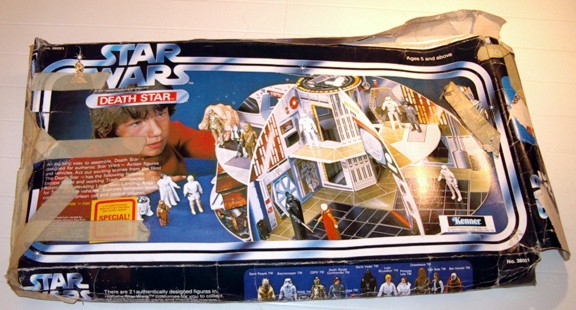
You can see that there is quite a bit of masking tape on the box, major crushing as well as a split at the top right where the glue has dried out.
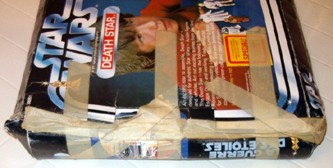
The two edges are mangled - with tearing on the right flap and heavy tape on the left side. There is pretty much nothing that can be done about the tearing on the flaps as they were done by the previous owner and are attached to the masking tape and are too thin to peel off. The rest of the tape can be removed carefully by peeling it slowly.

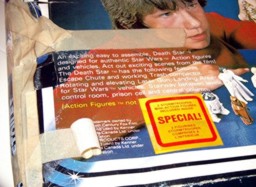
It's always best to find a loose end to remove the tape. Rolling it backwards gently will usually lift the tape off the box leaving a minimum of residue. Using too much force to remove the tape can cause the tape to peel the litho (printing) right off the box. It's important to take your time to prevent damage.
To remove the tape residue, I used some WD 40 sprayed on paper towel. Bounty has a good weave and doesn't leave any visible paper fibers behind.
After the box has been cleaned up it's time to do something about the crushing. I measured the length and the depth of the box (32" x 3"deep) and cut a cardboard strip as seen below. (20 Point BlackHawk C1S)

I gently slid in the two inserts, one at a time and then pushed them into place firmly at the top and bottom of the box. It's important that the inserts are cut to the exact width of the box otherwise you can end up ripping the box open right down the edge.
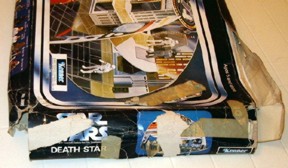
You can see what the box looks like below after the first three hours of restoration.
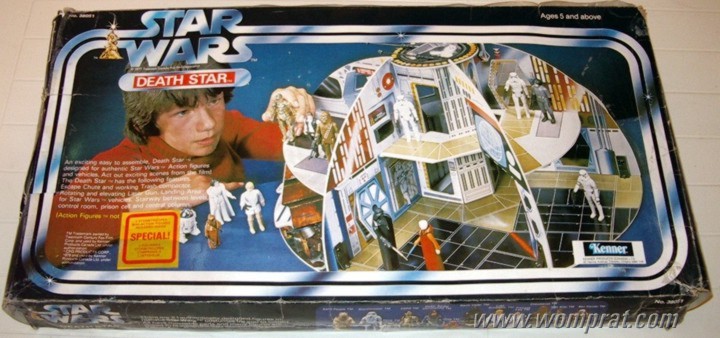
Check back periodically as I still have the upper right corner to glue back together as well as some work that needs to be done on the flaps.
Good luck with any restorations that you undertake, and most importantly of all, be upfront with your description if you're selling a restored piece.
Cheers,
Mike the CanadianCollector